
Restringing the lift cord on blinds can be a relatively easy and inexpensive way to renew your window treatments. Tools required are minimal though cording supplies may not be readily available. Custom blind repair supplies can be found online.
Before beginning, access the condition and age of your blinds to determine if restringing them is practical. If the the blinds are badly sun damaged they may be too brittle to restring. Aluminum should be handled carefully so as to not cause denting and creasing. Check wooden blinds for sighs of flaking varnish or water damage. Most often it is custom fit blinds of higher quality that will qualify for restringing.
Gather up some supplies: a digital camera, scissors, a measuring tape, and replacement cording.
Lets become familiar with the anatomy of our mini blinds:
The uppermost section is refereed to as the Header Box. This is the business end of the blinds; the header box houses the inner works and the cord pathways. The slats form the bulk of the blinds. At the base is the Bottom Bar. The lift cords pass through the slats, weaving through the ladder rungs and then tied off at the bottom bar.
We will use the old cord as a guide for stringing the new ones. We can splice the new cord onto the old in order to weave our way through all of the various parts of the blind. If the old cord has broken, use a working blind as a guide for stringing the cord or study blinds at the home store using your digital camera to gather information.
Determine the length of cord needed by multiplying the height of the blinds by four and then add the width. For blinds that are 4′ high by 6′ wide we would need twenty-two feet of cording: (4×4)+6. For mini blinds, use a .9 mm thickness of cord. If you are restringing wooden blinds, use a 1.4 mm thickness cord.
The first thing we need to do is remove the blind from the window, but while the blind is still hung make sure to study the various pathways of the cording. Use a digital camera to take a lot of photos from many different angles. Now you can remove the caps from the face of the header box and slide the blinds out of the window brackets.
Working on a table or bench, draw up the blinds using the old cord. Tie the new cord to the old by passing it through the bottom bar and then attaching it to the old cord with a small knot. Now weave the cord through the slats following the path of the old cord. You will want to weave in and out of the ladder rung cording of the slats in an alternating pattern to insure the slats hang straight.
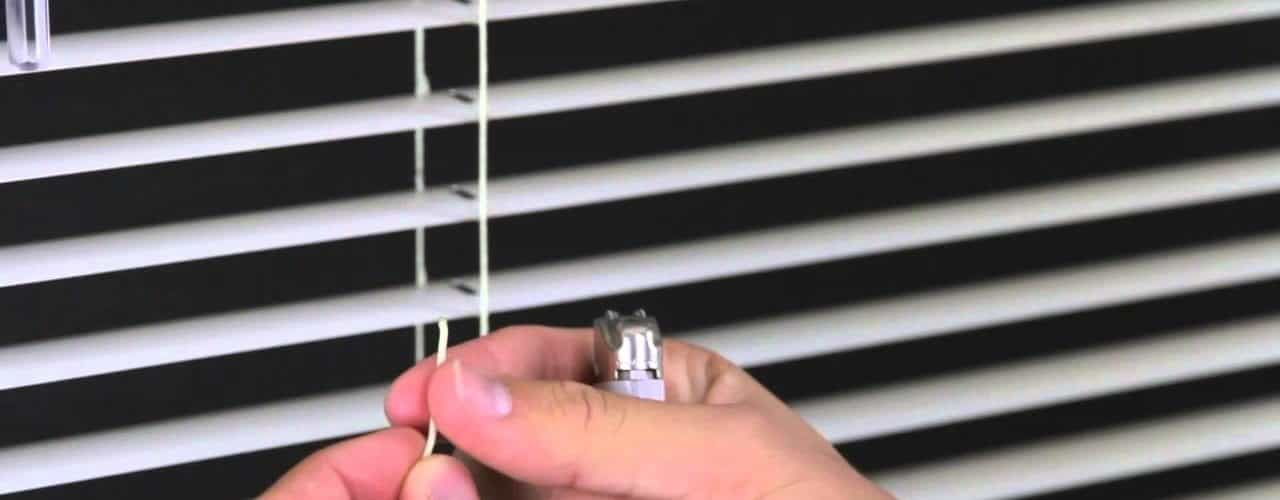
Carefully draw the new cord into the header box and then back out to create the pull cords. Tie a retaining knot in the new cord at the bottom bar and replace any plastic plugs or decorative hardware. Rehang the blinds and secure all retaining clips. Draw up the blinds to ensure everything is working correctly. With the blinds fully extended, trim the draw cords to the desired length and knot each cord to prevent fraying.
Do not tie the cords into a loop, as this poses a very real strangulation hazard to small children.


